Configuration Process
When you first start the Performer Suite, a configuration wizard will start up to help you set the most important Performer Suite settings.
Follow the steps below.
Database Selection
The first step is to select the database you want to use with Performer Suite.
This database:
stores all future settings, license information, comments and system details to run the Performer Suite.
will contain your future synchronized SAP entity data.
Choose the type of database you want to use.
For SQL Server or Oracle, you must provide the connection details to establish the database connection.

For further instructions, check the SQL Server Setup or Oracle Server Setup.
If you are using an Oracle DB: It is required to install the Oracle (Instant) Client software on all PCs that are supposed to access the database.
You can download the Client software on Oracles website.
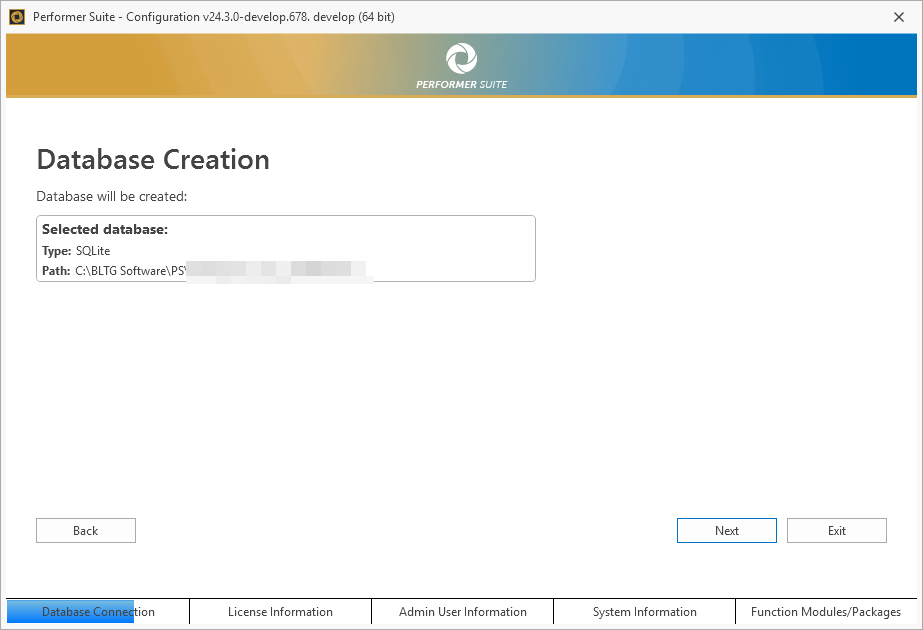
Once you have established a connection to your database, you will see a summary of the selected database.
Start creating the database structure by pressing Next.
You will see a confirmation screen as soon as the database creation is complete.
Registration
After creating the database, register the Performer Suite by loading the XML license file, which you will receive via email.
Save the license file to an easily accessible location before proceeding.
Click Browse to select your license file, then press Next to continue.
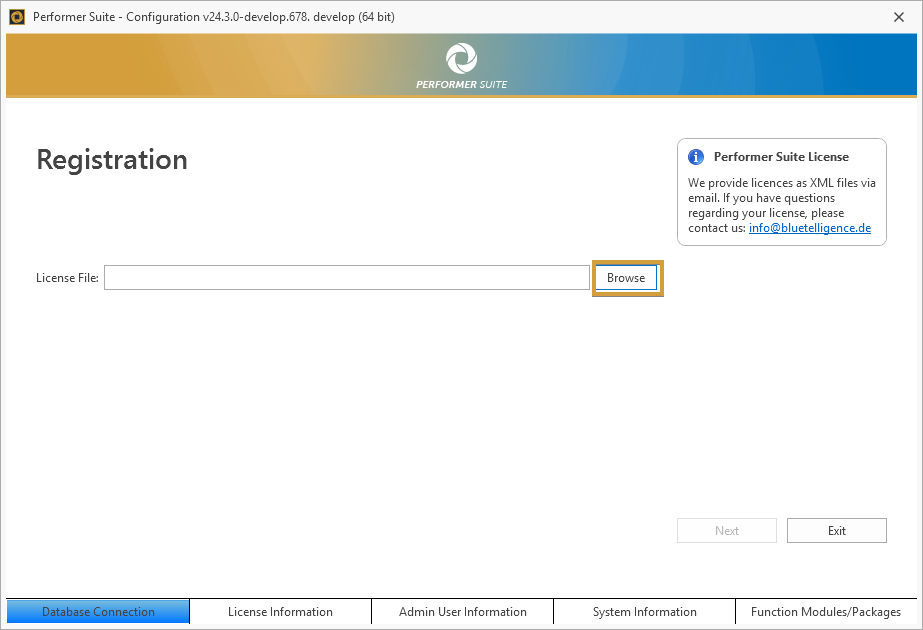
In case the license is corrupted, modified, or no longer valid, you will not be able to proceed.
Please contact info@bluetelligence.de to receive an intact license file or use the original file that was sent to you via email.
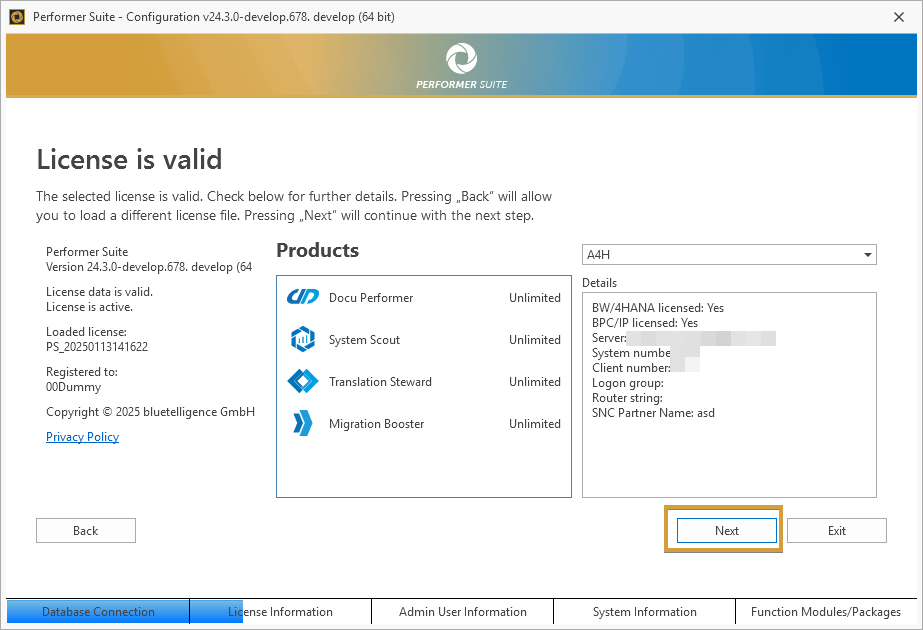
Once the selected license has been loaded, the license information will be displayed on the screen.
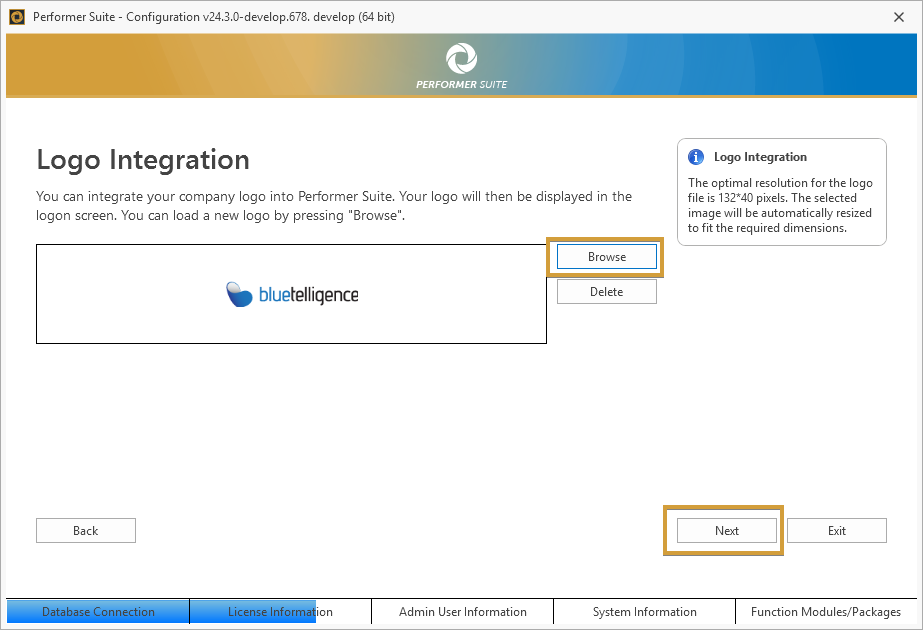
Press Browse to upload your company logo, which will be displayed on the login screen.
We provide a logo preselected with the license.
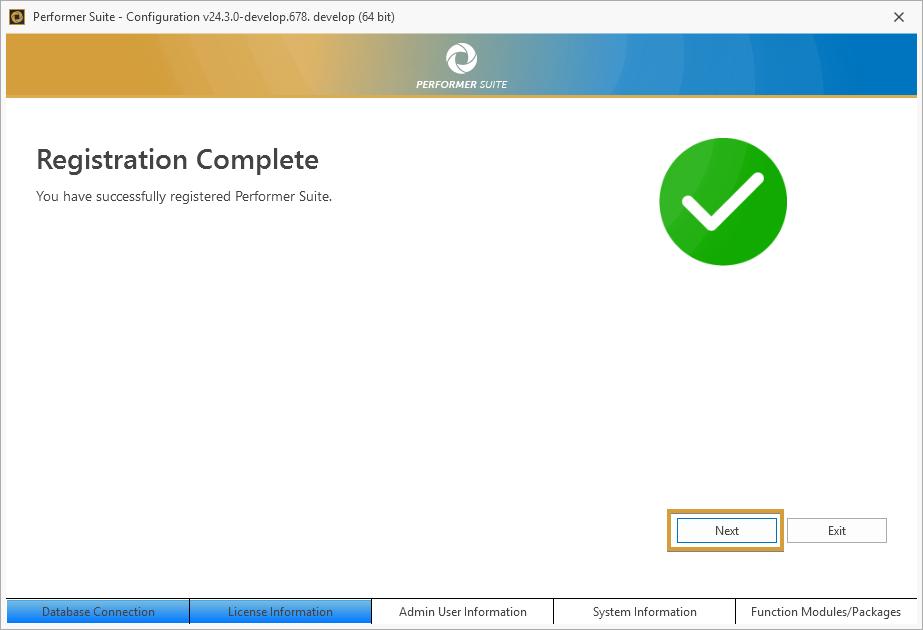
Once you have completed the registration and logo integration, a confirmation screen will appear.
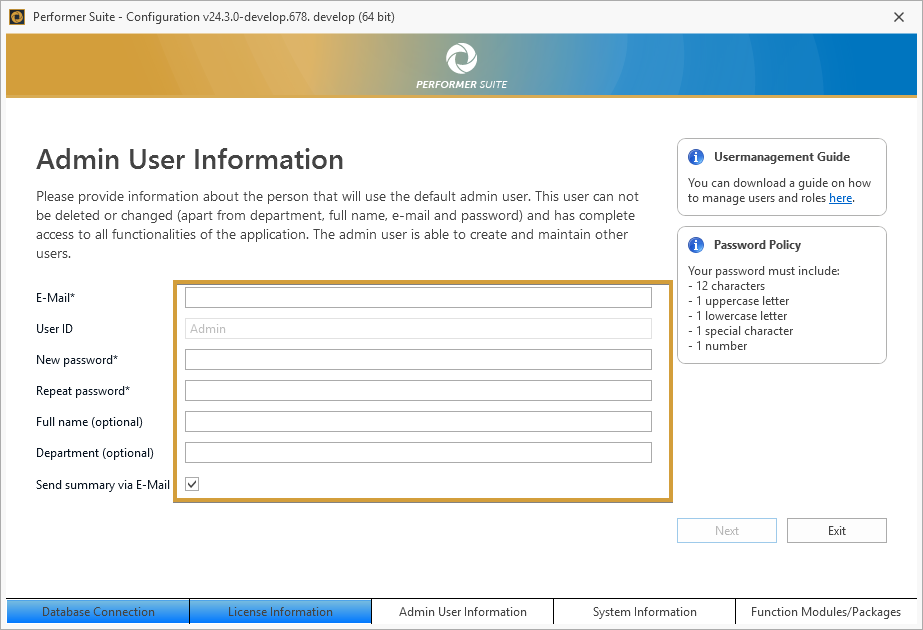
Admin User Information
After registering, you will be prompted to define the default admin user.![]() The user ID is "Admin" and cannot be changed. After installation, log in using "Admin" and the password you define here.
The user ID is "Admin" and cannot be changed. After installation, log in using "Admin" and the password you define here.
Enter the email address of the person responsible for technical questions and define their password.
Any other information is optional.
For more information regarding the setup process, check the User Management chapter.
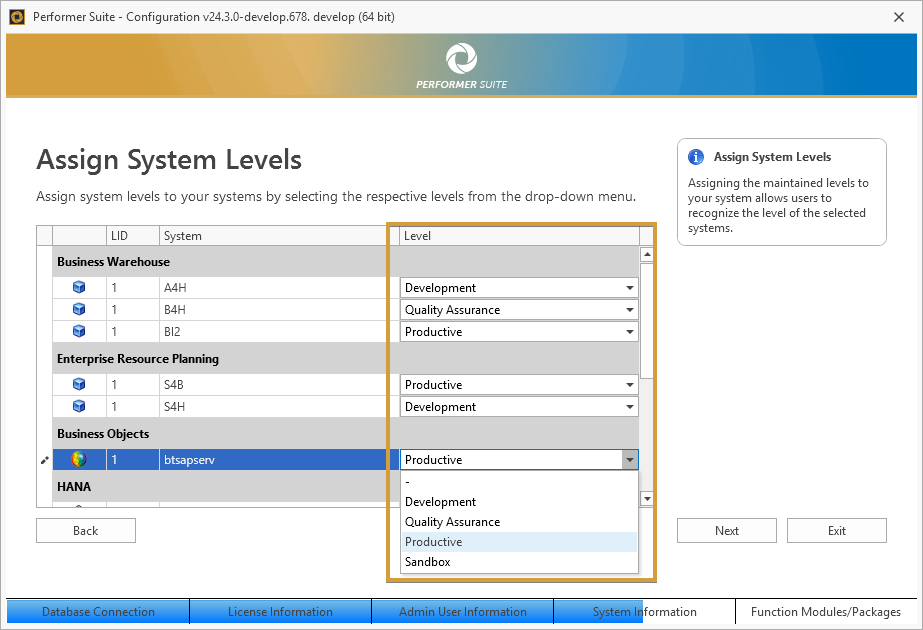
System Information
This step provides information about your SAP systems, making it easier for your Performer Suite users to identify the correct system.
You can maintain different system levels, create additional levels if needed, and modify their descriptions.
You cannot delete the default levels (Development, Quality Assurance and Production), but you can rename them.

Use the dropdowns to assign the levels to your systems.
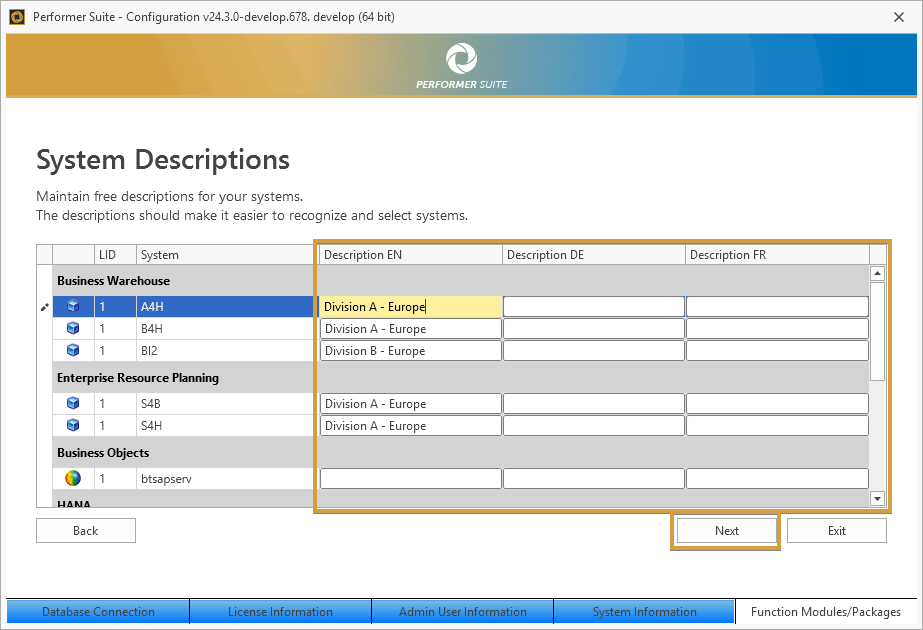
In a third step, maintain a description for each system in all logon languages. Use this to provide more specific information about your systems.
Custom Function Modules
In this step, you must create the custom function modules required for Performer Suite to provide its full functionality.
Press Select on the system where you want to create the function modules. Function modules must be created in development systems.
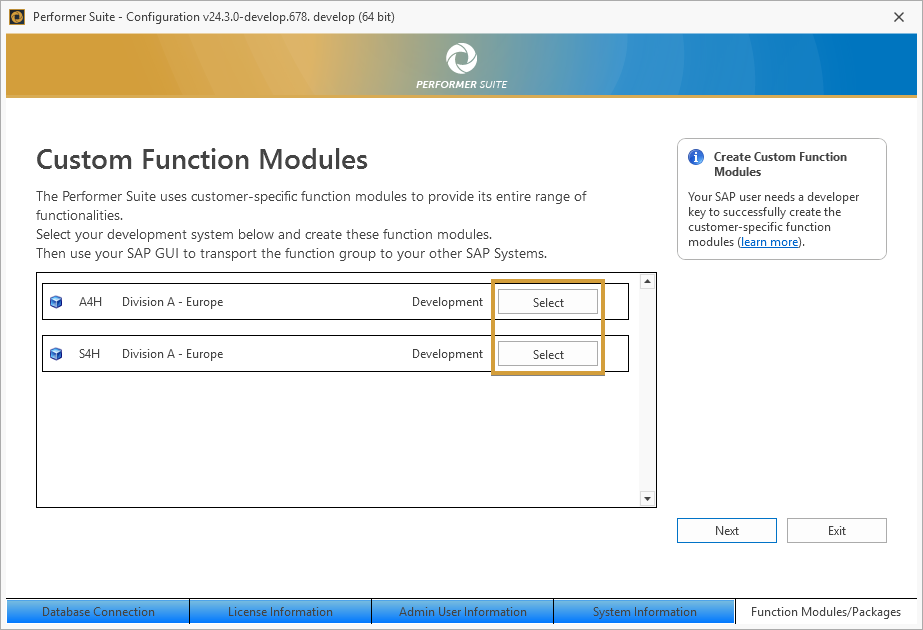
A new dialog opens, allowing you to create custom function modules.
First, enter a prefix for the technical name of the function modules.
Press Check to proceed and follow the displayed steps.
For further instructions, please check the Function Modules chapter.
Create custom function modules and the configuration is complete.