Project Creation
Authorization
Projects can only be created by users who have the corresponding option activated in their user profile:

Another checkbox offers the option to individually activate the access to security parameters. Therefore, the Migration Booster user is able to create and rename Modeling Objects, as well as to initiate imports and exports.
Create Projects
The Migration booster is organized by projects. By creating a new project or selecting an already existing one the user can start the application. Creating a new project is initiated through the button „Add new“:

An existing project can be opened by double-clicking the requested list entry or the button after selecting the wanted project.
Project settings
For every new project, a Technical Name, a description, and a project language needs to be chosen. By selecting a language, the system determines which texts are read and imported for later object exports.
Tab “SAP Parameters”
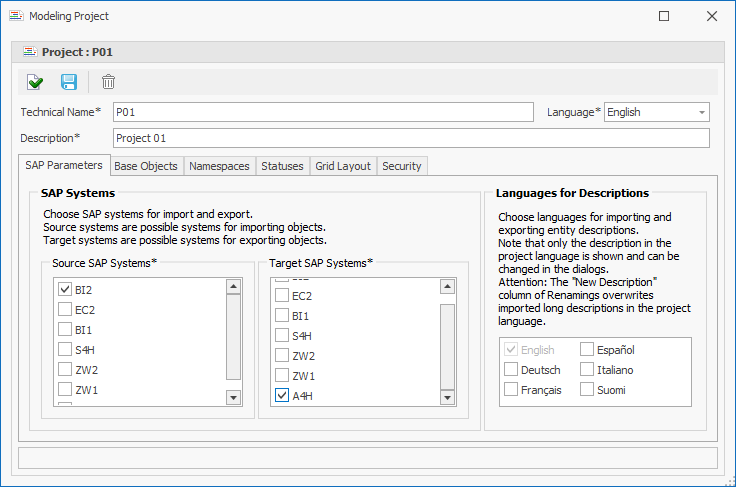
SAP Systems used for the in- and export of objects can be selected in the project administration area “SAP Parameters”. Usually, only the Development System should be used as a Source and target system. However, it is possible to import objects from two different SAP BW Systems and export those in a third new system where appropriate.
Descriptions of Modeling Objects can be imported and exported in different languages. The selection can be made on the right side of the window. Please be aware that descriptions can only be adapted to the project language, whereas other languages are only imported or exported and not displayed.
Note that when you copy Queries, the texts of all languages of the source system are written to the target system.
Tab “Base Objects”
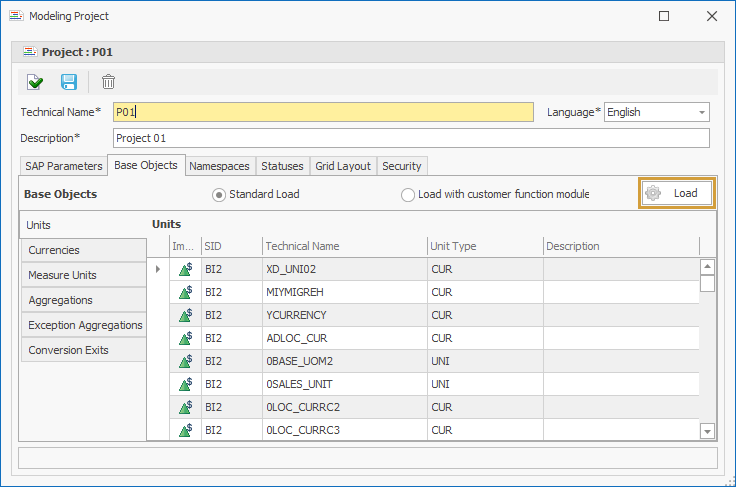
Due to the fact, that Base Objects like Currency, Measure Units, Aggregations, etc. are used to build certain other objects, these are also needed by the Modeling System. When saving a project for the first time, the option occurs whether and especially from which SAP BW-System Base Objects shall be sourced. We recommend using Base Objects from the target system.
Tab “Namespaces”
Namespaces pre-allocate the initial letters of the Technical Names. Prefixes of the namespaces can be entered in the “Name”-column.
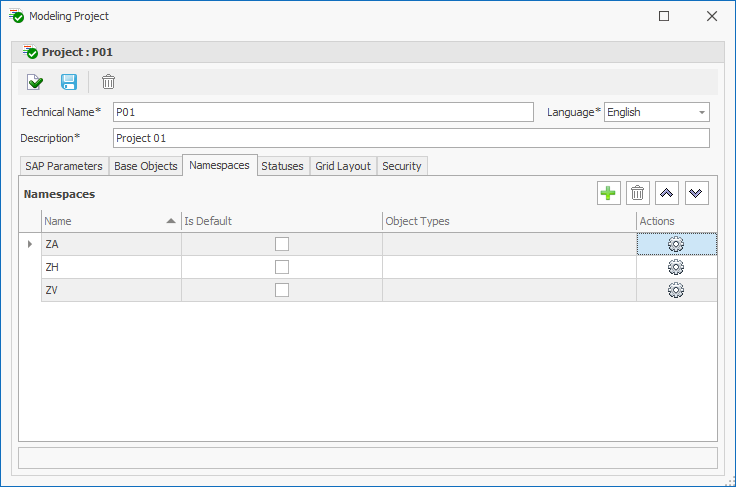
A namespace can be set as a default value with the help of the “Is Default” flag. Object types can be assigned to the relevant namespace by clicking the Gears-icon. The following new window opens:
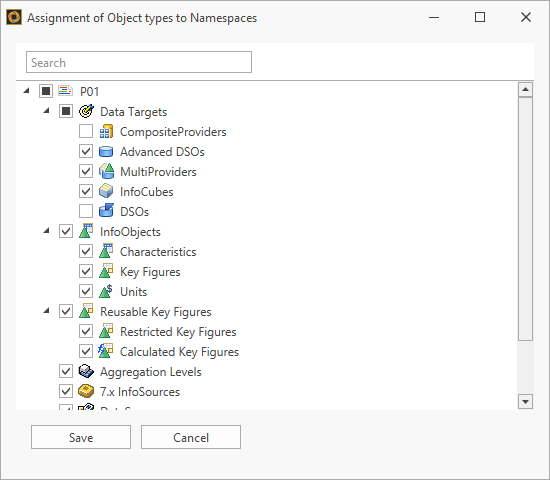
Example: DataStores are not selected; therefore, DataStores are exempted from the rule and can be used without restriction in any Namespace.
Using “Save”, the selection is confirmed and the following object icons are added to the namespace Table.

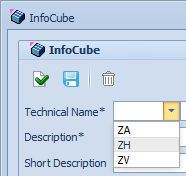
Later on, after defining the namespaces, a drop-down menu will include those which are permitted to use during the Object Modeling.
Tab “Statuses”
Different Statuses of Objects can be defined to indicate their processing status. Predefined colors and texts can be adapted or new ones created.
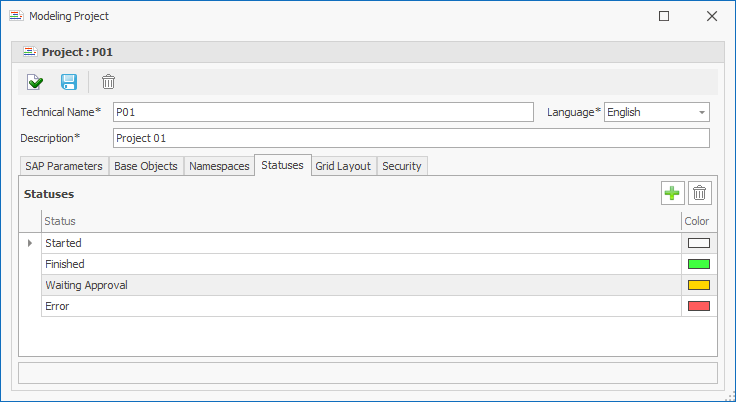
Statuses can be found in the Object Editing section:

Tab “Grid Layout”
The Tab offers options to change or extend the Grid Field selection of Key Figures and Characteristics. Additional fields, besides the displayed standard ones, can be inserted by using the button.
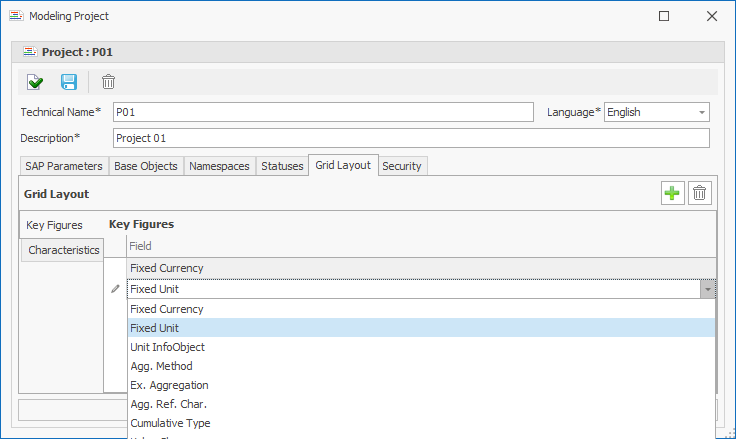
Two further fields are now editable in the Grid settings of Key Figures:

Grid-Editing can only be activated, when one Object Type is activated (using the selection options in “Modeling Entities”).
Tab “Security”
Project-specific rectifications for different users are set in the “Security” tab.

