
Installation Process
After downloading the setup file, the next step is to start the installation process.
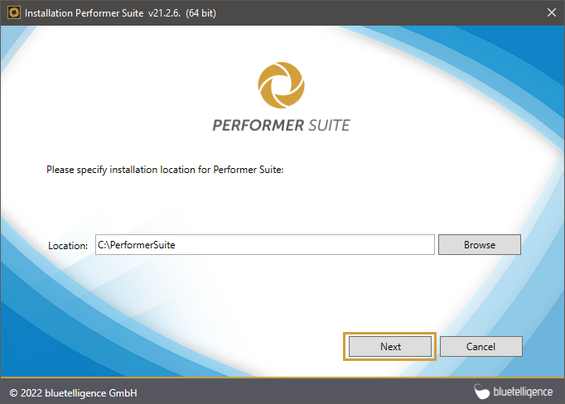
Run the downloaded setup file and choose a destination folder to install the application by selecting “Browse“.
The setup will suggest the target folder “C:\Performer Suite“, please feel free to change this to a directory of your choice.
Click ”Next“ to proceed.
Choose the features you would like to install.
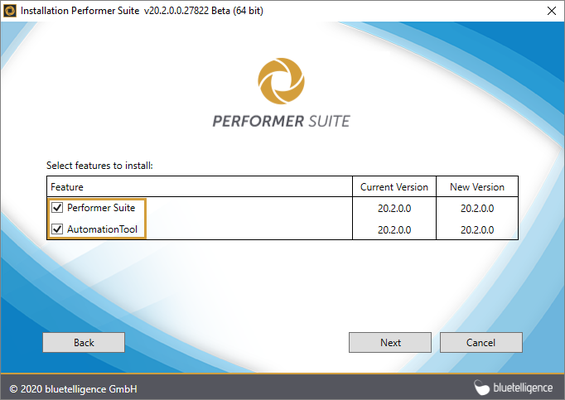
The Automated Synchronization allows an automated, daily background synchronization of the SAP objects using a Windows task.
It should only be installed when using a central database (not for SQLite databases).
To install the AutomationTool, the setup file should be executed from the server, on which the database is installed.
You can choose to create a desktop shortcut and whether you want to start the Performer Suite.
Click “Finish“ to complete the installation process.

The next step is to perform the Configuration Process.