Configuration Process
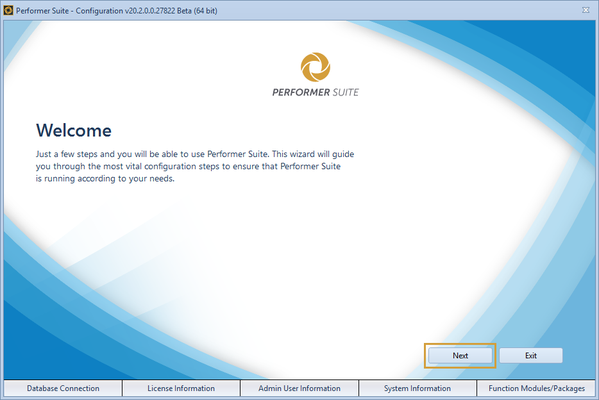
When first starting the Performer Suite a configuration wizard is started, which supports you in setting up the most vital settings of the Performer Suite. Follow the listed steps.
Click "Next" to proceed:
Database Selection
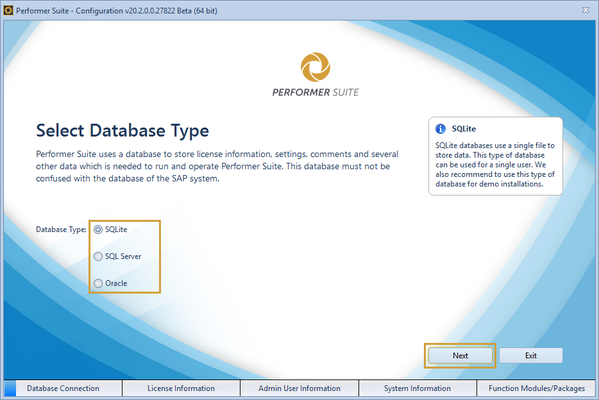
The first step of the configuration is to select the database which you want to use with the Performer Suite. In this database, all the settings, license information, comments, system information and other data which is needed to run Performer Suite are saved. Also, the synchronized data of the SAP entities are saved in the database. See the manual for a detailed description of the synchronization process in the Performer Suite.
Select the type of database that you want to use. In the case of SQL Server and Oracle, you will have to provide connection details in order to connect to the database. Click “Next“ to proceed.
For further instructions, check the SQL Server Setup or Oracle Server Setup
If you are using an Oracle DB: It is required to install the Oracle (Instant) Client software on all PCs that are supposed to access the database. You can download the Client software on Oracles website.
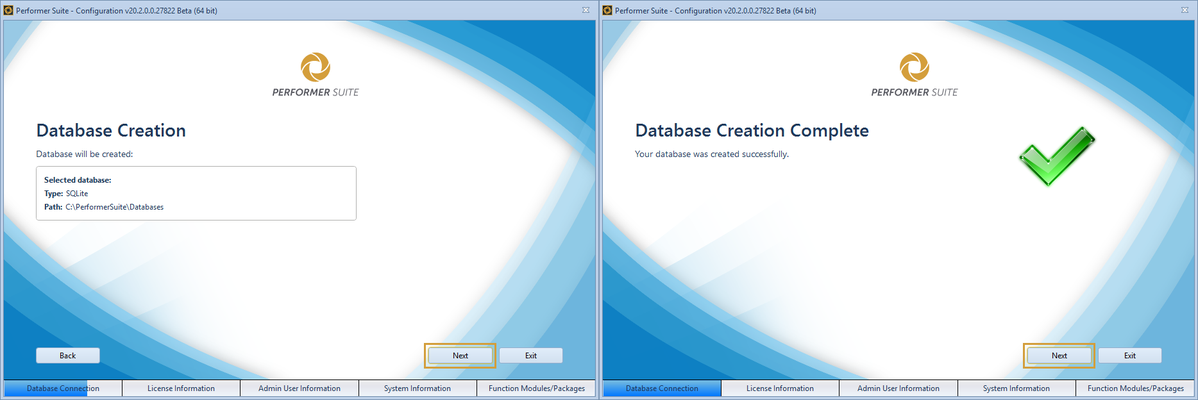
Once you have established a connection to a database, you will see a summary of the selected database. You can now start the creation of the database structure by clicking “Next“. You will see a confirmation screen as soon as the database creation is complete:
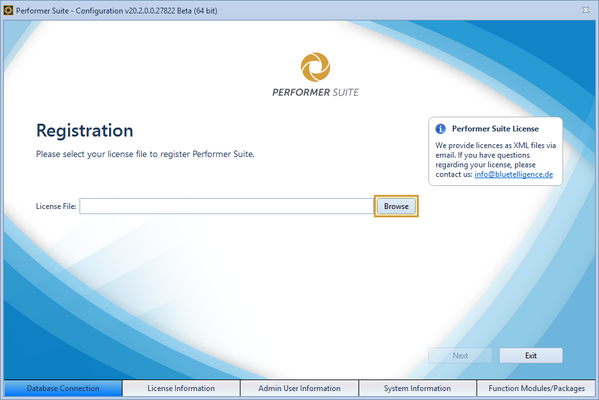
Registration
After creating the database you can register the Performer Suite by loading the XML license file. You will receive the license file by e-mail. Please save the license file from your mail in an accessible destination in order to load the file.
Click “Browse“ to select your license file, then click “Next“ to proceed:
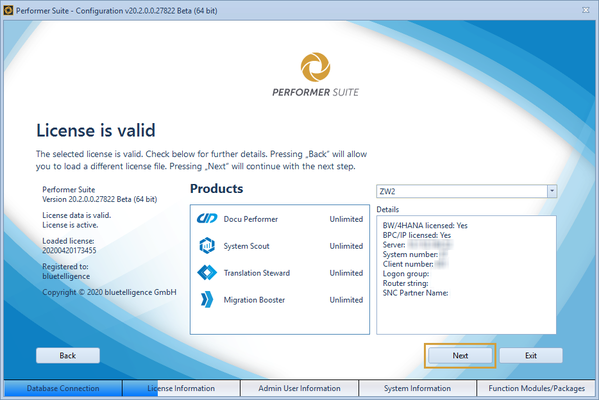
In case the license is corrupted, modified or not valid anymore, you will not be able to proceed. Please contact info@bluetelligence.de to receive an intact license file or use the original file that was sent to you via E-Mail.
When the selected license has been loaded you can see the license information on the screen. Click “Next“ to proceed:
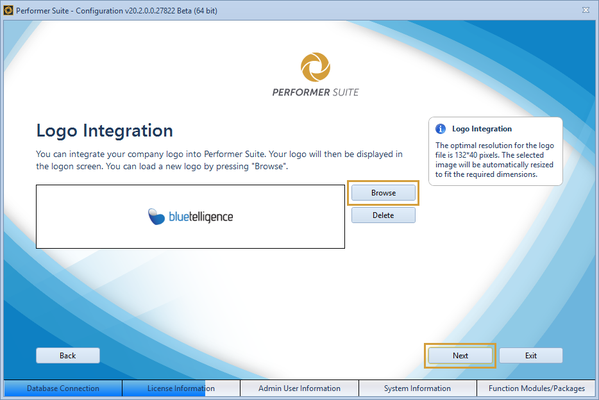
This dialog allows you to load your company logo. The logo will then be displayed in the login screen. By default, the license will provide a logo which was preselected by bluetelligence. You can change or delete the logo by using “Browse“ and “Delete“. Click “Next“ to proceed.
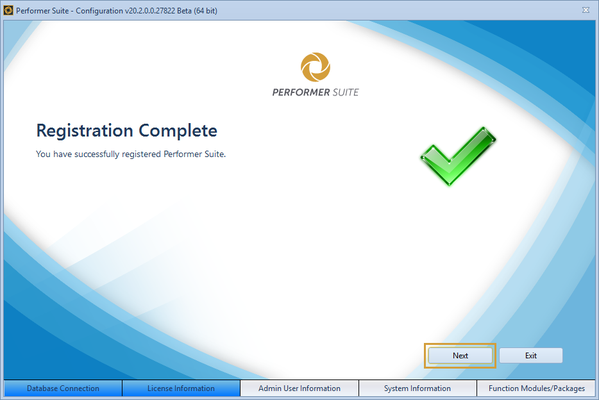
You will see a confirmation screen after completing the registration and logo integration. Click “Next“ to continue with the next step.
Admin User Information
After completing the registration you will be prompted to enter some information about the person that is using the default admin user.
You must enter an email address and a password in order to proceed. All other information is optional.
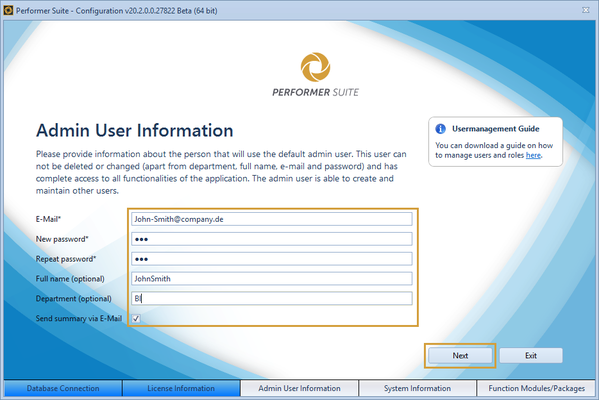
For more information regarding the setup process check the User Management chapter.
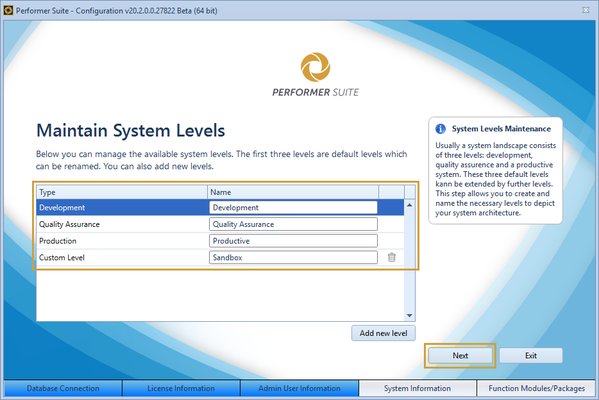
System Information
This step gives you the option to provide information about the SAP systems. This will make it easier for Performer Suite users to identify the different SAP systems.
At first, you can maintain different system levels. Create additional levels if necessary and change their descriptions according to your needs. Development, Quality Assurance and Production are default levels that can‘t be deleted but renamed. Click “Next“ to proceed.
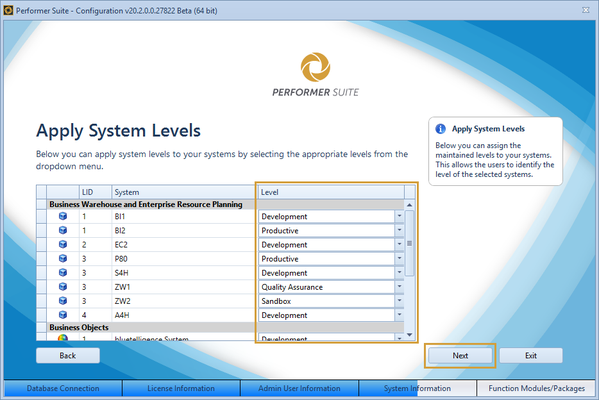
Now you can assign the levels to your systems using the dropdowns. Click “Next“ to proceed:
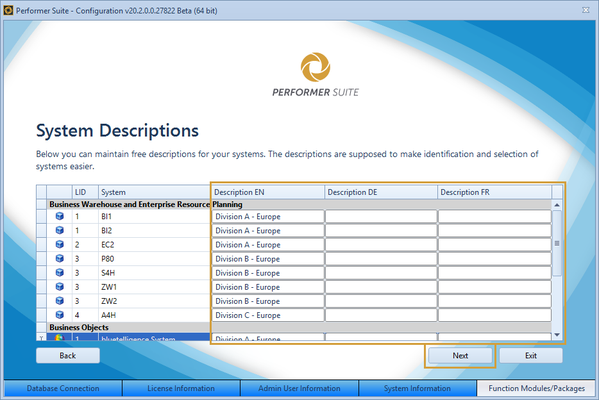
In a third step, you can maintain a description for each system in all logon languages. You can use this to provide more specific information about the systems.
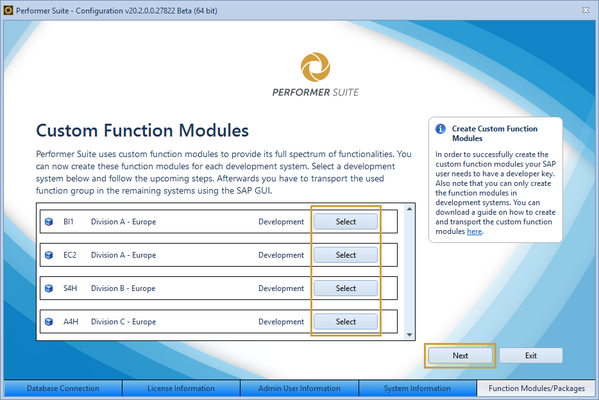
Custom Function Modules
In the next step of the configuration, you create the custom function modules which Performer Suite needs to provide the complete spectrum of functionality.
Click “Select“ on the system in which you want to create the custom function modules. Please note, that function modules can only be created in development systems:
A new dialog opens which allows you to create the custom function modules. First, you have to enter a prefix for the technical name of the function modules. Then click “Check“ to proceed and follow the displayed steps.
For further instructions, you can check the Function Modules chapter.
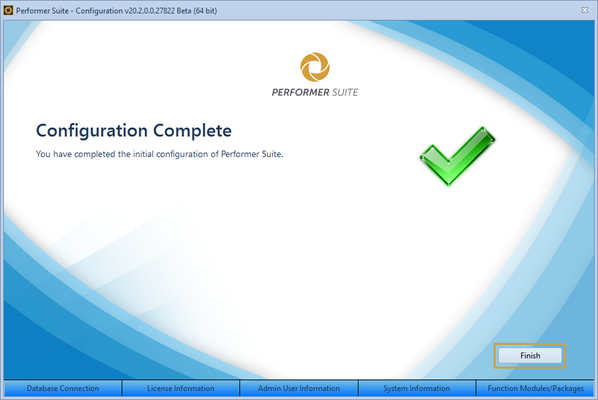
After creating the custom function modules the configuration is complete.